

How to edit photographs using VSCO Cam
November 09, 2017
—

V S C O C A M
iPhone 8 Plus
I used to not believe in making in-app purchases but I come to realise that having premium editing options or presets at my fingertips truly helps achieving the effect without the need to be bounded to a desk with MacBook Pro and a cup of tea.
—
P I C T U R E O N E


Before & After


Preset S2 +12.0


Exposure +3.6 | Contrast +0.7
This is the end product.
—
P I C T U R E T W O


Preset C2 +2.3


Exposure +2.0 | Contrast +1.5

This is the end product.
—
P I C T U R E T H R E E

Before & After
This image, in it's natural form has already captured the colours pretty accurately. All this needs is a bit of fine tuning.


Preset C1 +1.7 | Exposure +0.5 | Contrast +1.9
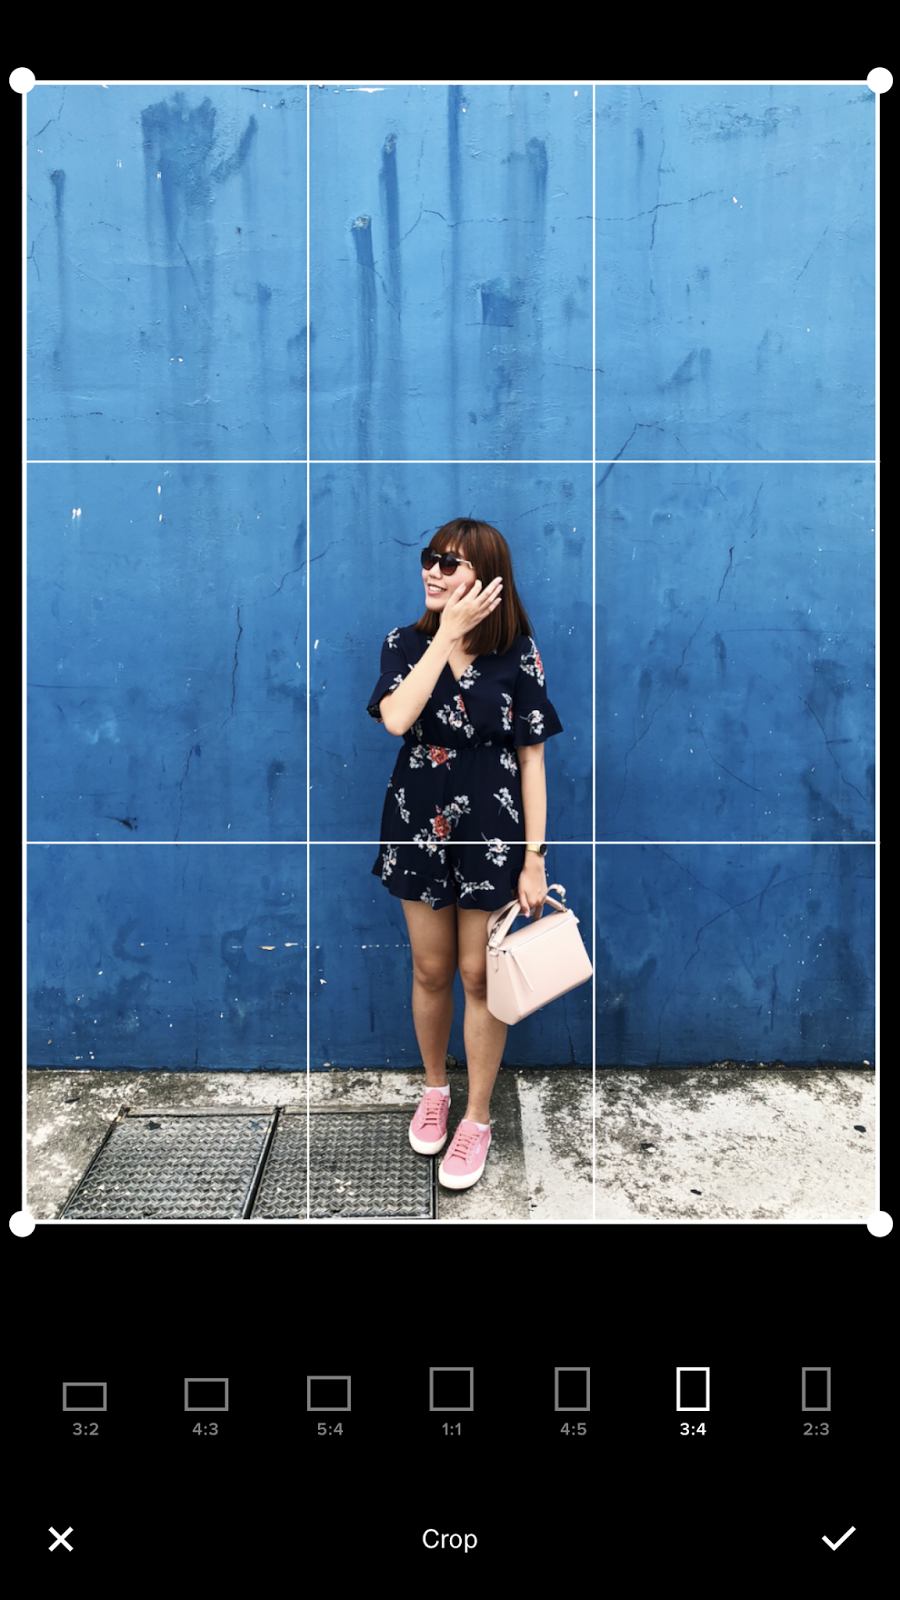

Crop ratio 3:4 | Best fit for Instagram portrait photos
Tip: If you want to give the illusion of a wide and vast wall, crop the photo until it only reveals the blue wall.
This is the end product.
—
T I P O N E
Play around with the crop ratio. Most people don't play around with crop function and instead want to achieve the perfect ratio aspect in it's original image. Like what I did for picture three.
T I P T W O
Ensure that there is enough natural lighting for minimal editing to be involved.
T I P T H R E E
Whenever you take picture with horizontal lines, like picture two, align the horizontal lines to the perspective grids on your camera. This will some how guarantee the straightness and symmetrical look of your picture.
—
0 letters